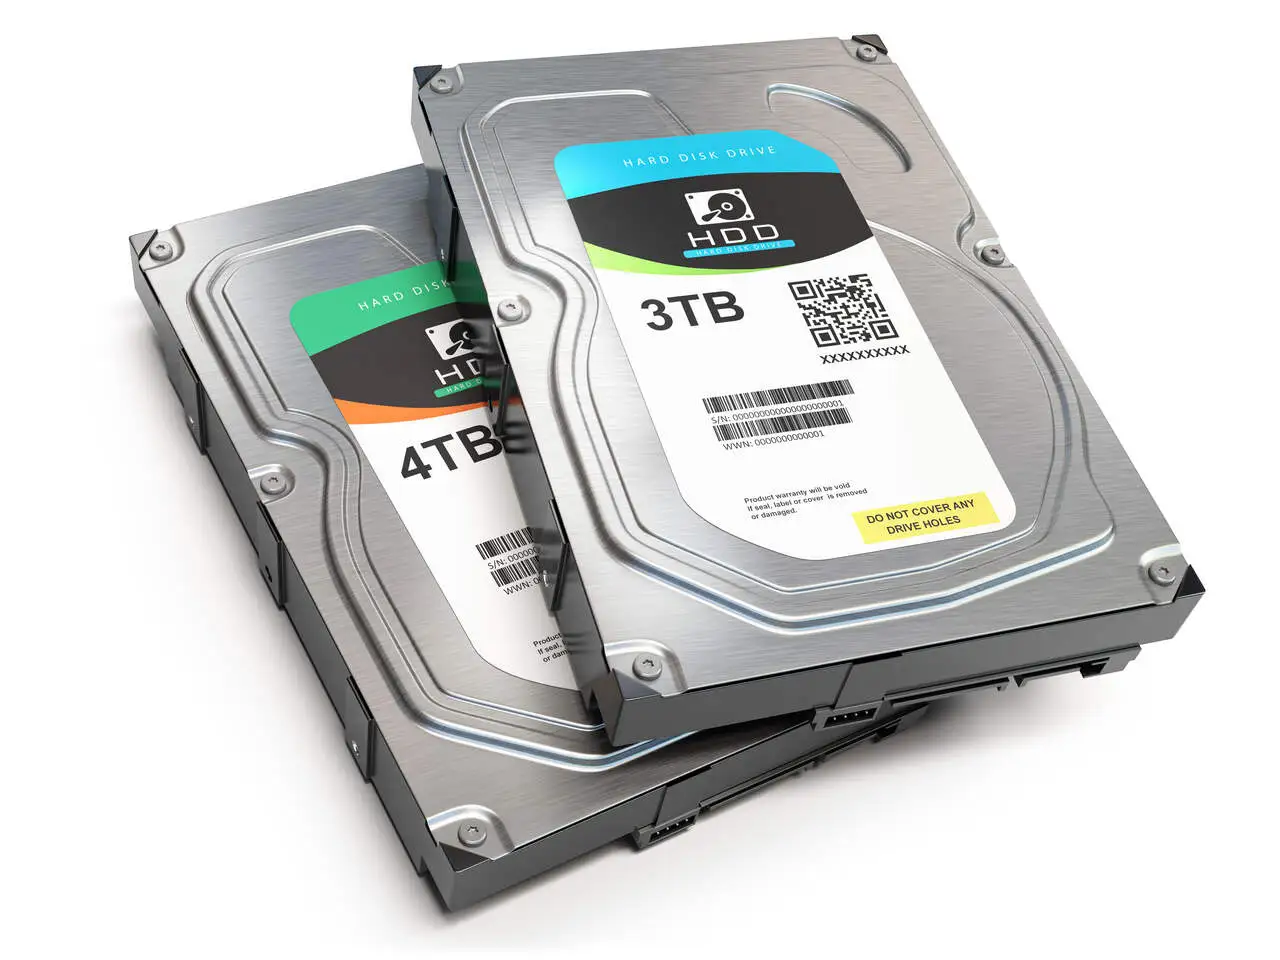
RAID, which stands for “Redundant Array of Independent Disks”, is a technology that combines several hard disks to improve performance, reliability and/or storage capacity.
There are several levels of RAID, each offering different benefits. In this guide, we’ll look at setting up a RAID level 1 system (mirroring).
Prerequisites:
- Two or more identical hard disks.
- Supported motherboard or RAID controller.
- Basic knowledge of the BIOS/UEFI and the RAID controller configuration interface.
Configuration steps:
- Step 1 – Check Compatibility: Make sure that the disks and the RAID controller are compatible. Consult the motherboard or controller manual for detailed information.
- Step 2 – Connect the Disks: Install the hard disks in the appropriate ports on the motherboard or RAID controller. These ports are usually labeled SATA or SAS.
- Step 3 – Access the BIOS/UEFI: Restart the computer and access the BIOS/UEFI by pressing the corresponding key during startup (usually DEL or F2). Make sure that the RAID controller is activated.
- Step 4 – Configure the RAID controller: Within the RAID controller configuration interface, find the option to create a new RAID set. Select the desired disks and choose RAID level 1 (mirroring).
- Step 5 – Configure RAID 1 Properties: Set the RAID 1 properties, such as sector size, boot mode and other options specific to your controller. Make sure that the disks are configured as “mirroring”.
- Step 6 – Initialize the RAID: Start the RAID creation process. This usually involves initializing the disks and synchronizing the data between them. Be aware that this can take some time, depending on the size of the disks.
- Step 7 – Install the Operating System: Once the RAID configuration process is complete, install the operating system as normal. During the installation process, be sure to load the RAID drivers if necessary.
- Step 8 – Continuous Monitoring: After setting up the RAID, regularly monitor the status of the disks. Most RAID controllers offer utilities or web interfaces to check the health and performance of the system.
Setting up a RAID system, in this case RAID 1, provides an additional layer of security and reliability for your data. Make sure you keep regular backups and be aware of the specific features of your RAID controller to ensure the system works properly.
Even with the additional layer of security provided by the RAID system, it does not guarantee 100% security against data loss and this is a highly complex data loss scenario, Digital Recovery’s RAID recovery solutions will help you recover lost data.


