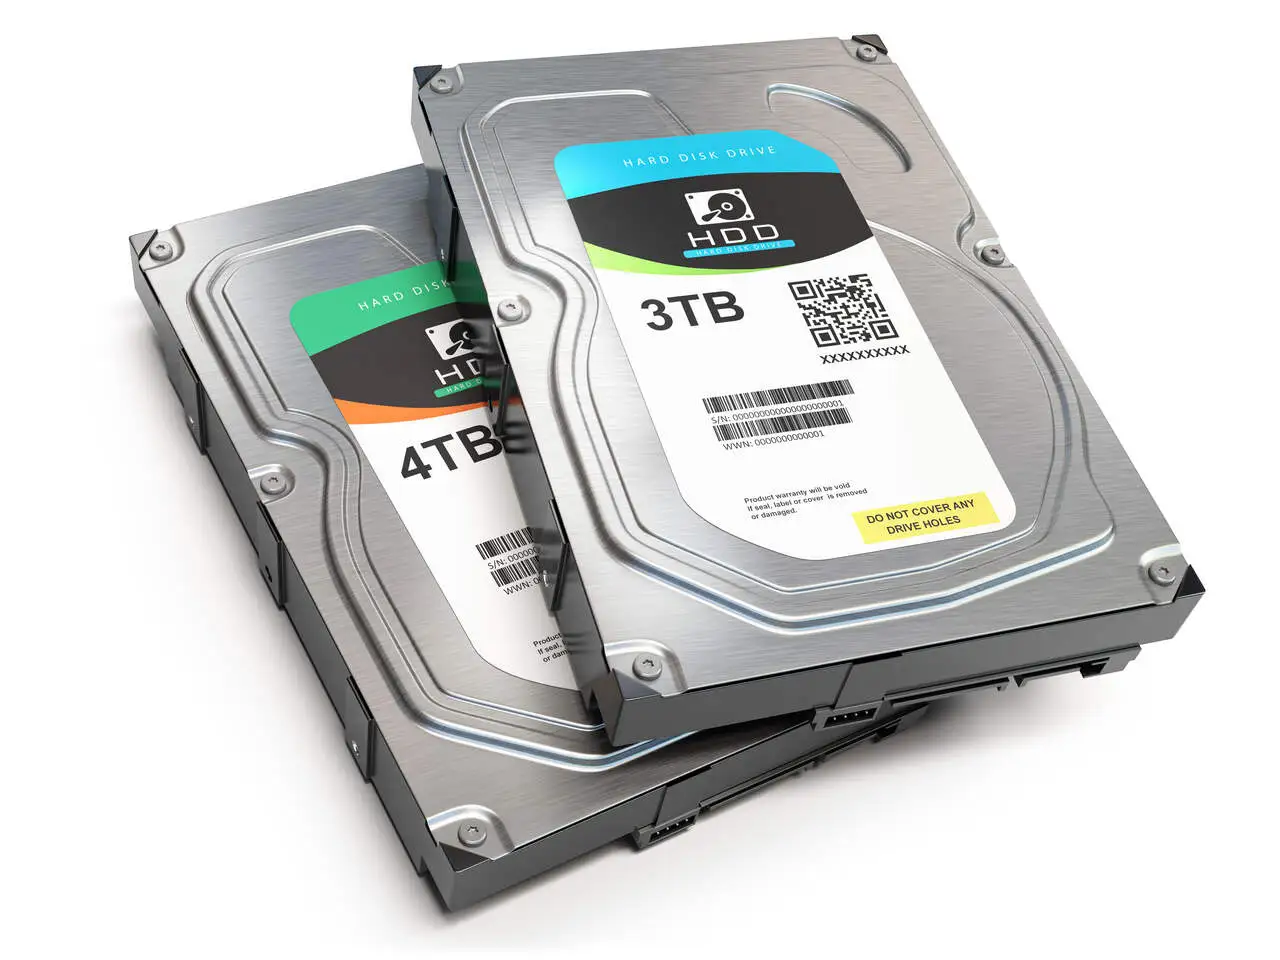
Formatting Windows is a process that completely erases the data on your hard disk and reinstalls the Windows operating system (OS). This procedure can help improve your computer’s performance, remove viruses and malware, and solve software problems.
Formatting your Windows PC may seem like a daunting task, but it’s a useful skill that can help solve many common computer problems. Whether you’re looking to sell your computer, fix persistent software problems or simply start from scratch, formatting Windows is a crucial step towards a cleaner, more efficient PC.
The formatting process may vary slightly depending on your version of Windows (Windows 10, Windows 8 or Windows 7). It is important to know which version you are working with in order to follow the correct procedure.
Preparing for formatting
Before formatting, make sure that all important files are saved. Use external hard drives, cloud storage or other backup solutions to protect your data.
You will need a USB drive or DVD with the Windows installer. Microsoft’s website offers tools and instructions for creating this installation media.
Steps to format Windows
- Accessing BIOS/UEFI – Restart your computer and access the BIOS/UEFI settings to change the boot order. This allows your computer to boot from the installation media.
- Booting from the installation media – With the boot order set, restart your computer with the installation media inserted. Follow the on-screen instructions to begin the Windows installation process.
- Partitioning and formatting the hard disk – During installation, you will have the option of partitioning your hard disk. Here, you can format the drive, removing all data and preparing a clean space for the Windows installation.
Reinstalling Windows
- Installing Windows after formatting – Follow the on-screen instructions to install Windows on your newly formatted hard disk. This process may take some time, depending on the specifications of your system.
- Initial setup and configuration – After installation, you will go through the initial setup process, configuring settings such as region, language and user accounts.
Post-formatting configuration
- Installing drivers – Ensure that all hardware components work correctly by installing the necessary drivers. You can download them from the manufacturer’s website or use Windows Update.
- Windows Update – Run Windows Update to download and install the latest security patches and feature updates. This is crucial for protecting your PC from vulnerabilities.
- Installing essential software – Reinstall essential software applications, including productivity tools, browsers and any specialized software you use.
Common formatting problems and solutions
- Boot Problems – If your computer does not boot from the installation media, double-check the BIOS/UEFI settings to ensure the correct boot order.
- Data Loss Prevention – Always back up your data before formatting. If you have lost data without a backup, you can seek help from companies specializing in data recovery, such as Digital Recovery.
Formatting and reinstalling Windows can breathe new life into your PC, solving many common problems and improving performance. By following the steps outlined in this guide, you can ensure a smooth formatting process and enjoy a cleaner, more efficient computer. Remember to back up your data, follow the installation instructions carefully and take post-formatting measures to optimize your PC’s performance.


